
process
how it works
Three steps from labor bottleneck to measurable recovery. Every engagement starts with a diagnostic, deploys a Human + Machine workforce, and stays accountable to outcomes.
01
Empower Me
your team runs the change
Playbooks, workforce design guidance, and implementation support.
02
Meet In The Middle
shared ownership
Split ownership based on your capacity, urgency, and operating risk.
03
Do It For Me
Jo runs the work
Machine execution, human oversight, and operating follow-through.

Discover
01
Discover
LaborMap™ diagnostic
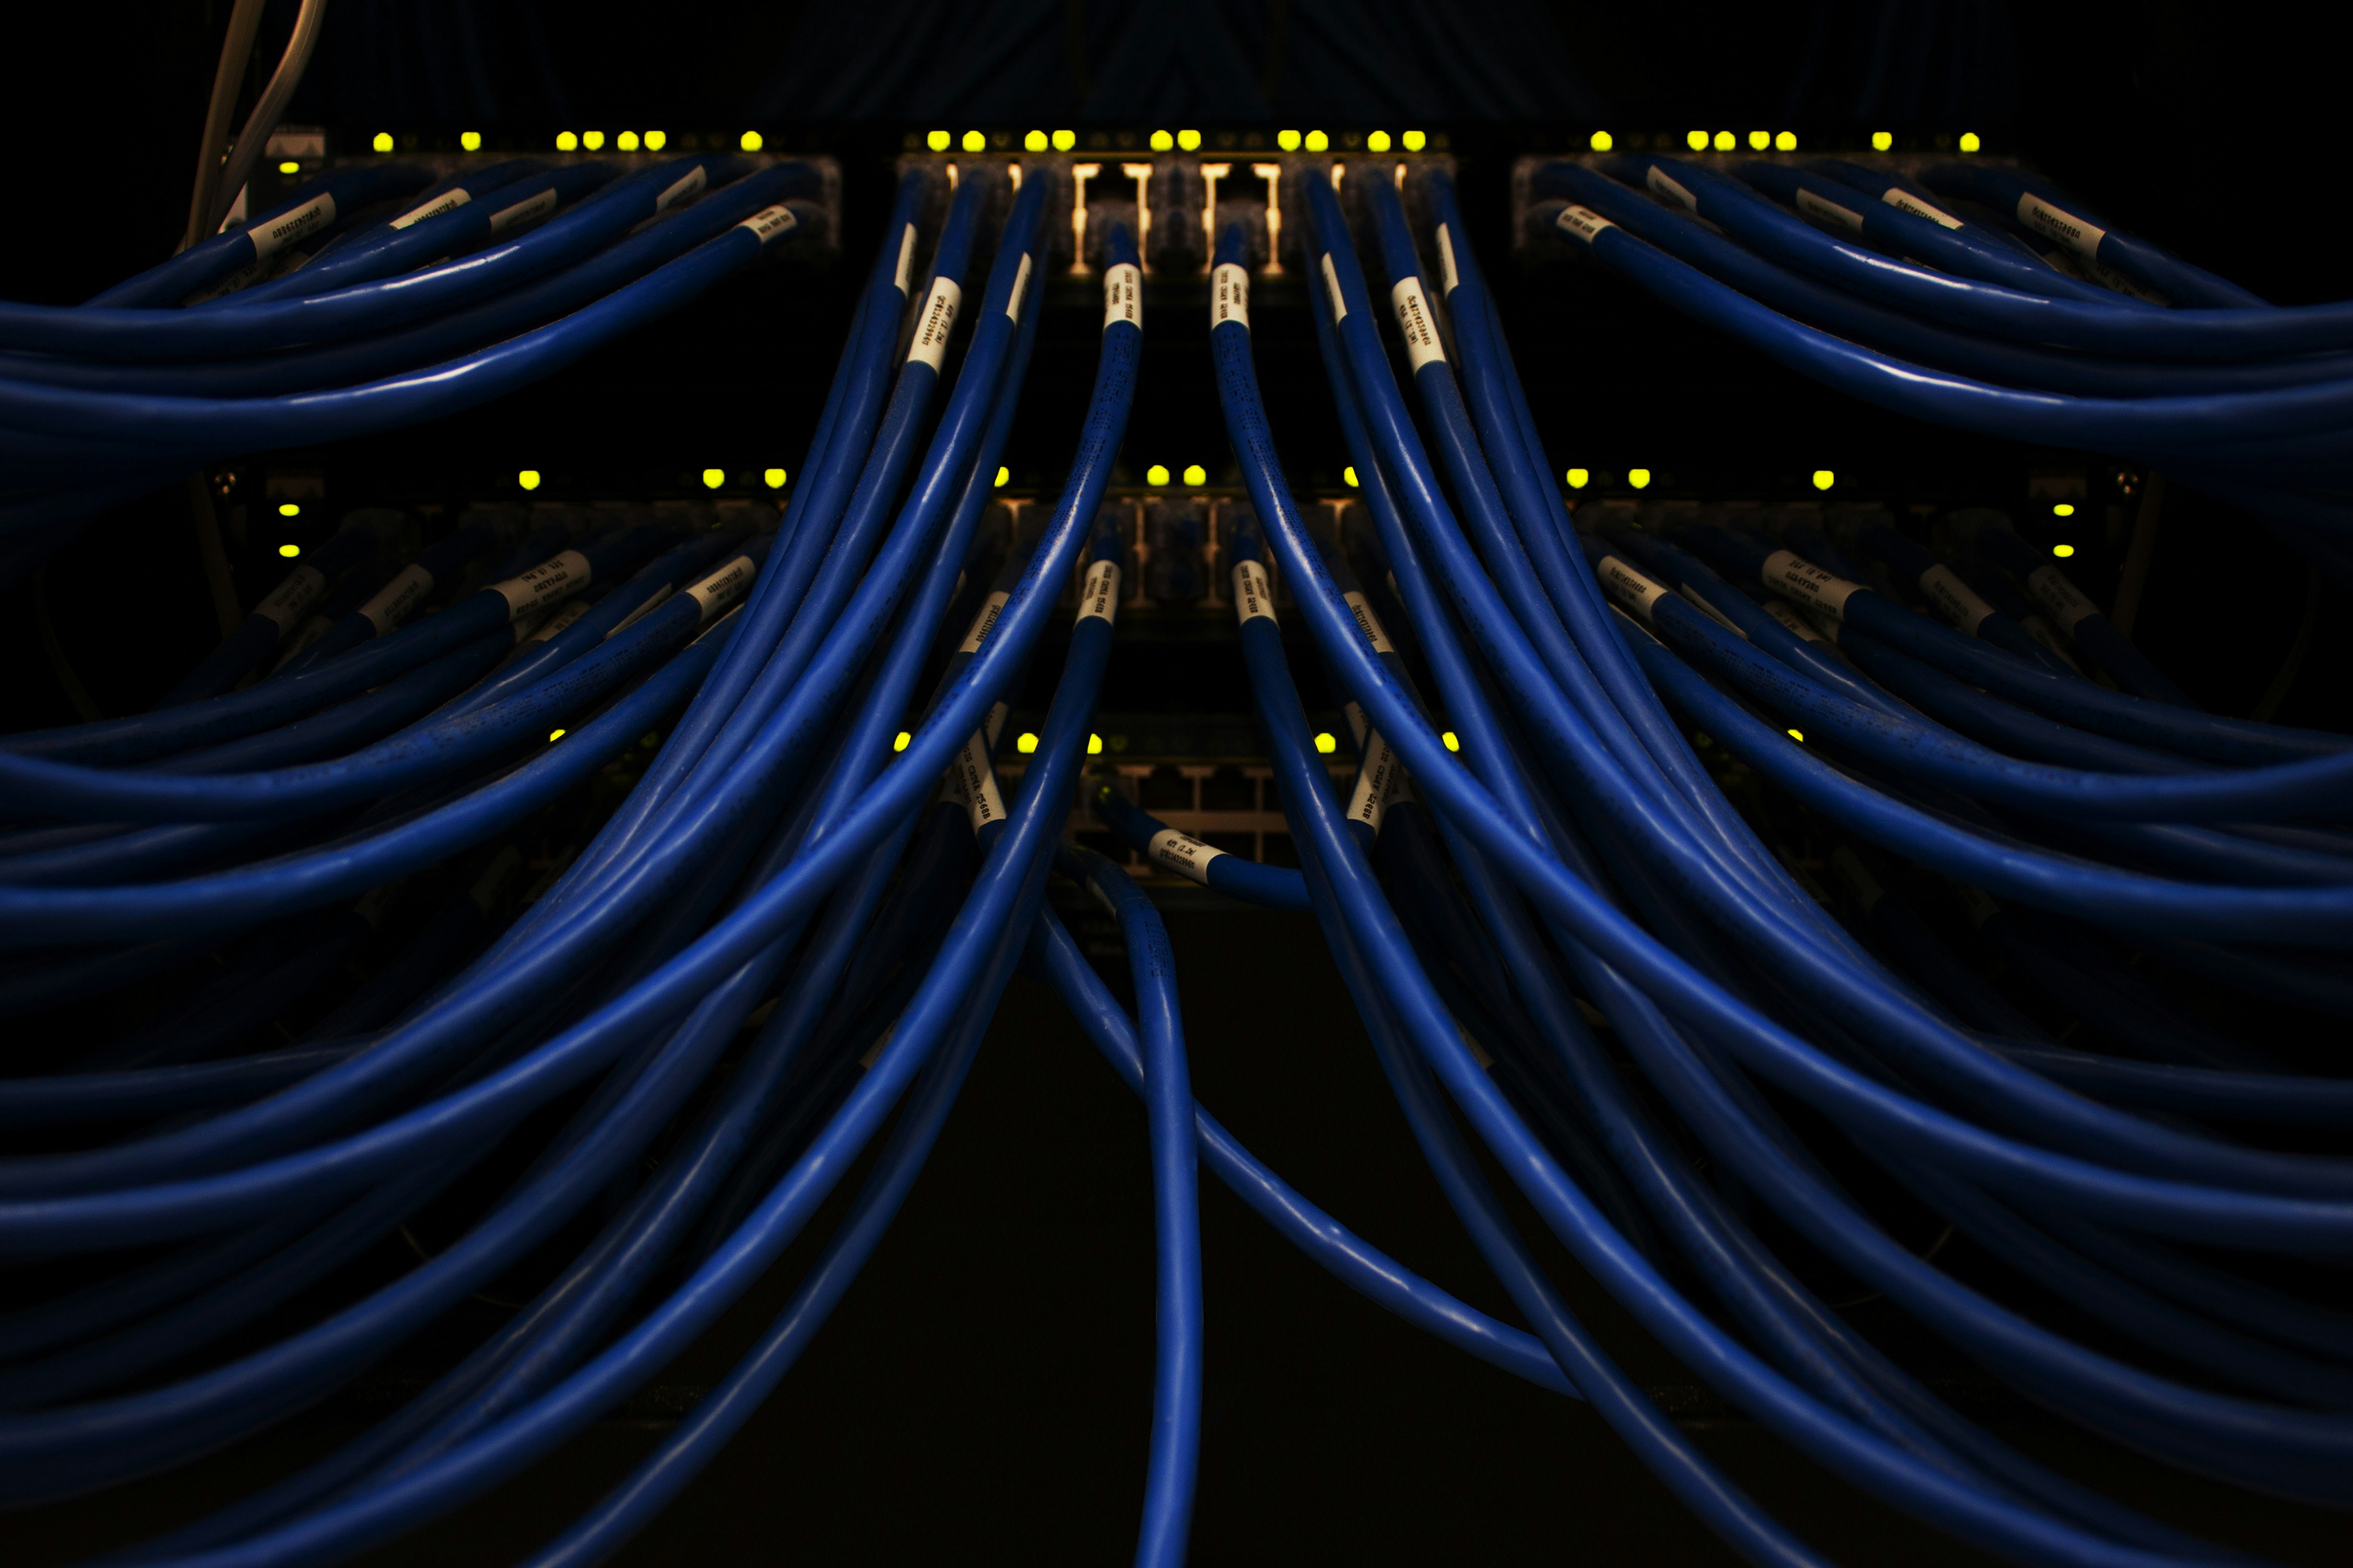
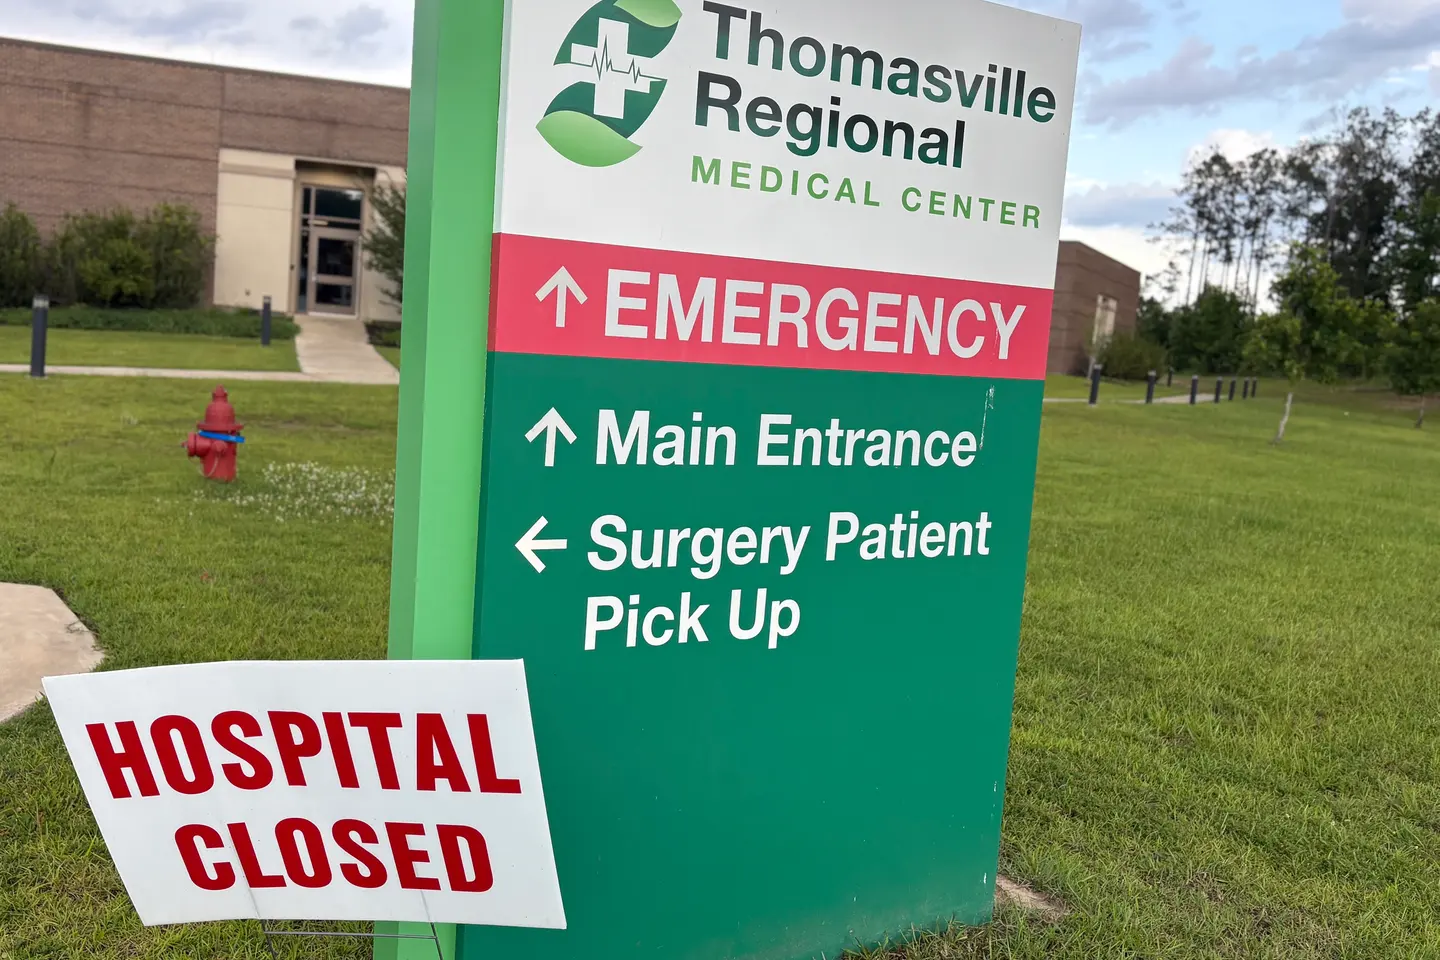
Before we staff a single person or deploy a single machine, we map your operation. The LaborMap™ diagnostic identifies where labor bottlenecks exist, what they cost you, and which roles are best served by human judgment versus machine execution.
The output is a clear, prioritized plan — not a slide deck. You see the bottleneck, the cost of inaction, and the staffing model that fixes it. Every recommendation ties back to throughput, compliance, or margin.

Design
02
Design
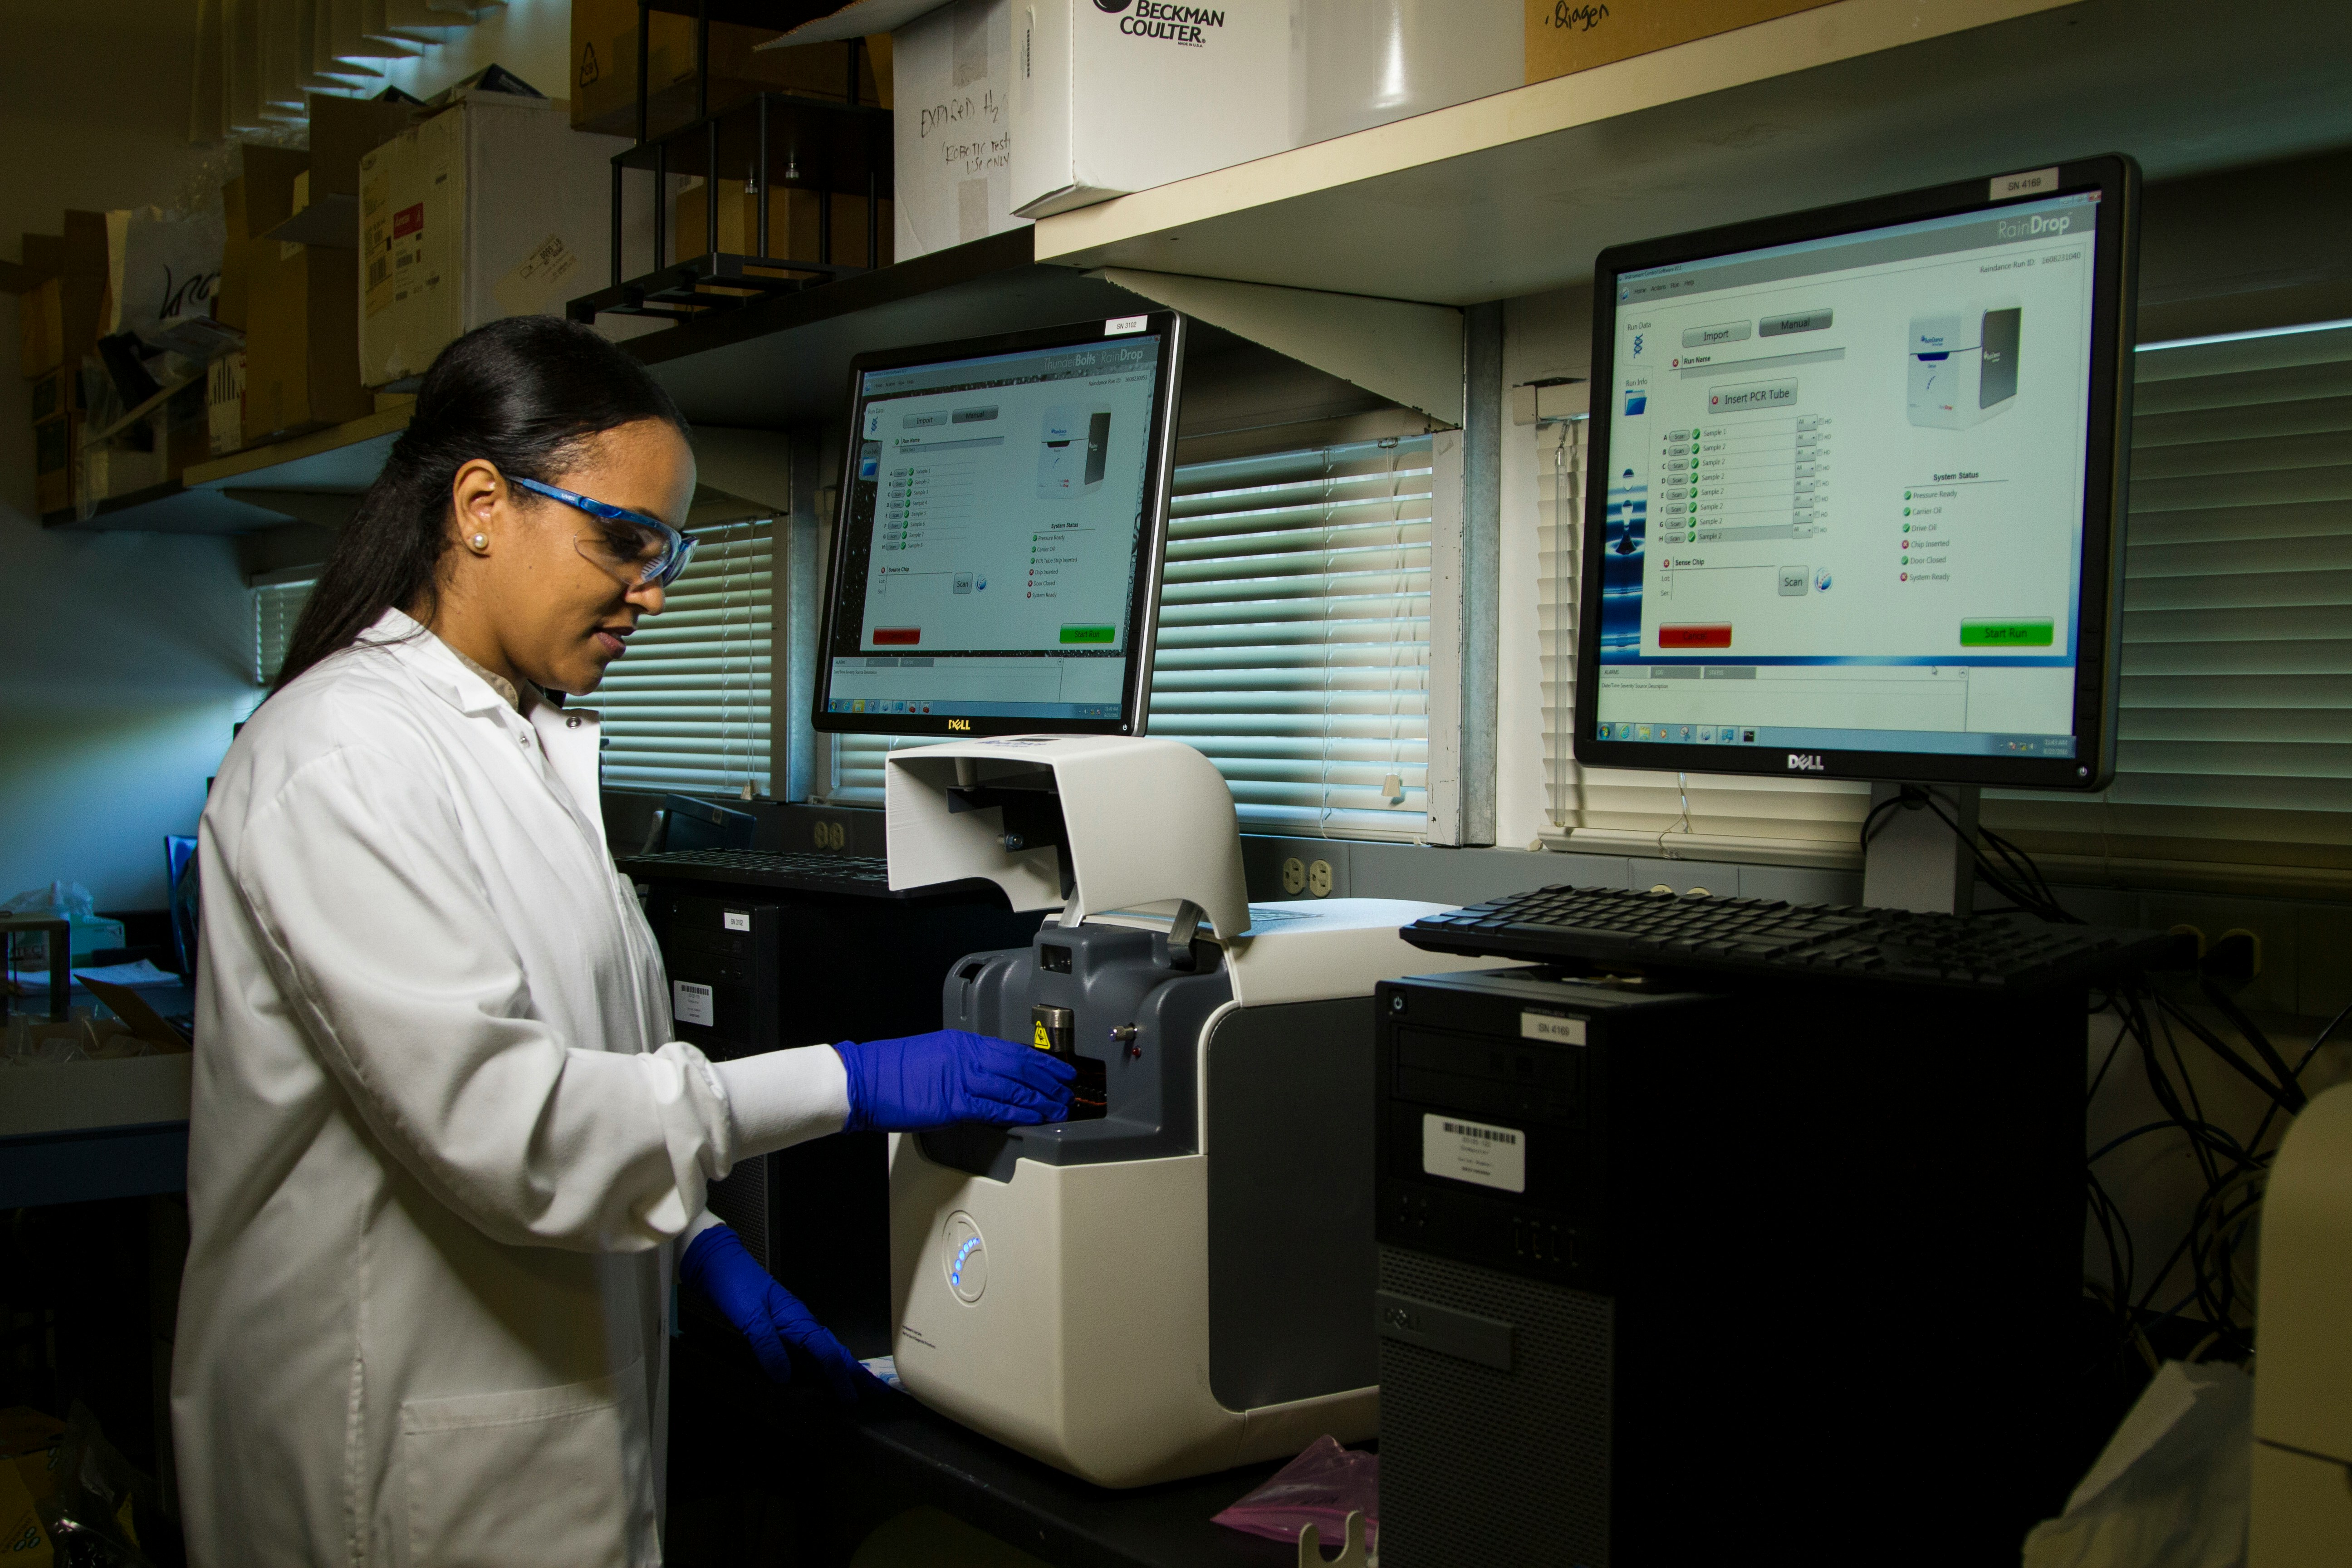
Human + Machine workforce model
After the diagnostic, we design how the work gets done. We define exactly what stays with human operators and what shifts to machine execution, then map ownership, handoffs, controls, and escalation paths across the workflow.
The result is a practical operating blueprint: role scope, service levels, staffing structure (part-time, contract, permanent, or fractional), and rollout sequencing. We design the model to fit your real bottleneck, not a generic template.

Deploy
03
Deploy
continuous optimization
Deployment is not the finish line. Jo monitors output quality, cost-per-unit, and compliance adherence across the engagement. When the operation shifts, the workforce shifts with it.
You get regular performance reporting tied to the metrics that matter to your business — not vanity dashboards. If a labor bottleneck reappears, we catch it before it costs you.